Installing a New Fuel Filter: Step-by-Step Instructions
Unleash Fuel Efficiency: A Seamless Fuel Filter Replacement
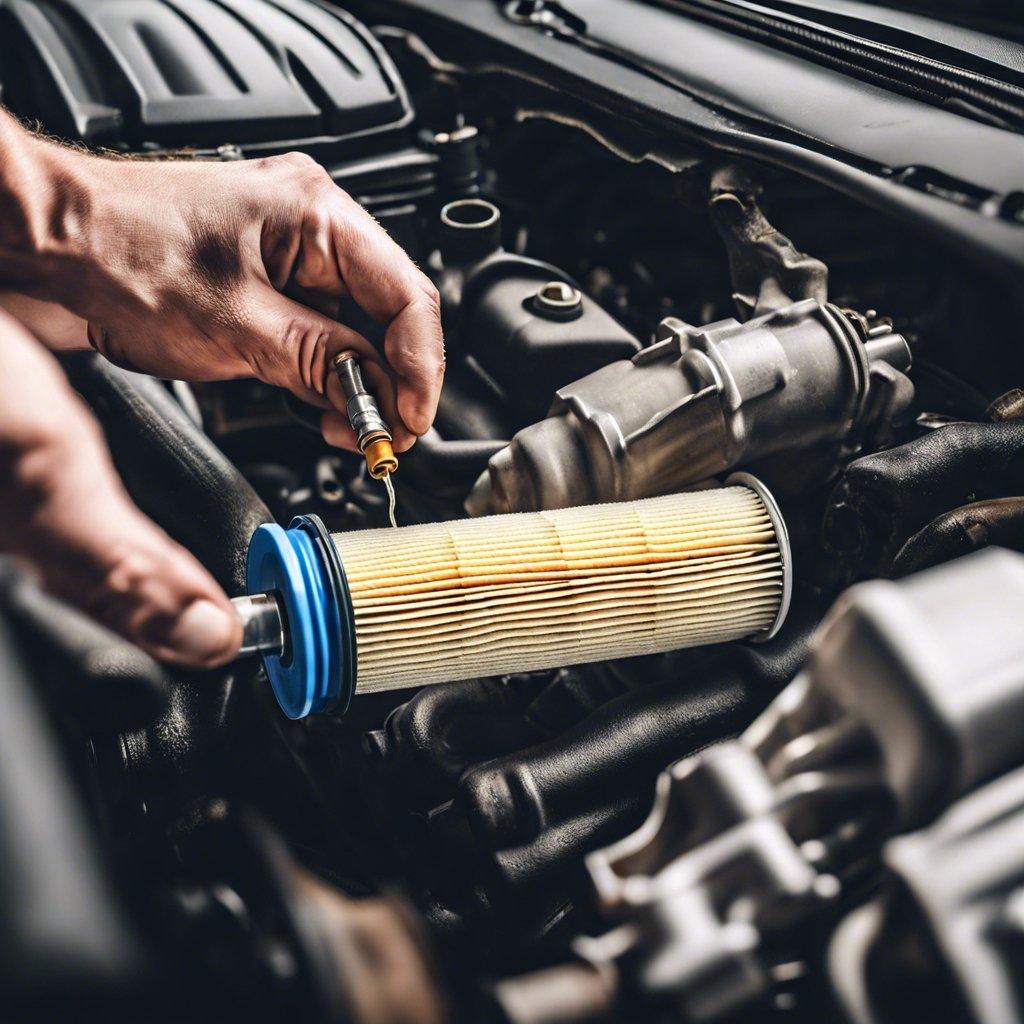
Importance of Regular Fuel Filter Replacement
Maintaining optimal fuel efficiency is crucial for engineering and technology professionals, as it directly impacts the performance and reliability of their equipment. One essential component in this endeavor is the fuel filter, which plays a vital role in ensuring the smooth flow of clean fuel to the engine. Regularly replacing the fuel filter can significantly enhance fuel economy, reduce maintenance costs, and extend the lifespan of your machinery.
Step-by-Step Guide to Fuel Filter Replacement
- Locate the Fuel Filter: Consult your vehicle’s or equipment’s manual to identify the location of the fuel filter. It is typically situated along the fuel line, often near the engine or fuel tank.
- Prepare the Work Area: Ensure the work area is clean and free of any potential ignition sources. Wear appropriate personal protective equipment (PPE) such as gloves and eye protection.
- Disconnect the Fuel Lines: Carefully disconnect the fuel lines from the filter, taking note of their positions for proper reconnection later.
- Remove the Old Fuel Filter: Unscrew or loosen the filter and remove it from the system.
- Install the New Fuel Filter:
- Ensure the new filter matches the specifications of the original part.
- Apply a thin coat of clean engine oil to the gaskets or O-rings on the new filter.
- Carefully install the new filter, ensuring a secure and leak-free connection.
- Reconnect the Fuel Lines: Reattach the fuel lines to the new filter, making sure they are properly secured and sealed.
- Prime the Fuel System: Depending on your equipment, you may need to prime the fuel system to remove any air pockets. Consult the manufacturer’s instructions for the appropriate procedure.
- Start and Inspect: Start the engine and check for any fuel leaks. Allow the engine to run for a few minutes, then recheck the filter and connections.
Maintaining Fuel System Efficiency
| Maintenance Task | Recommended Frequency |
|---|---|
| Fuel Filter Replacement | Every 12-24 months or as per manufacturer’s recommendations |
| Fuel System Inspection | Annually or during regular maintenance intervals |
| Fuel System Cleaning | As needed, based on performance indicators |
By following these step-by-step instructions and maintaining your fuel system diligently, you can unlock the full potential of your equipment, ensuring optimal performance, fuel efficiency, and longevity.
Optimize Performance: The Ultimate Guide to Fuel Filter Installation
Understanding the Importance of Fuel Filters
As an engineering or technology professional, you understand the crucial role that fuel filters play in maintaining the optimal performance of your vehicle or machinery. A properly functioning fuel filter ensures that clean, contaminant-free fuel reaches your engine, enhancing efficiency, power, and longevity.
Preparing for Fuel Filter Replacement
Before you begin the fuel filter installation process, ensure that you have the necessary tools and supplies on hand, including the replacement fuel filter, a clean workspace, and any specific tools recommended by the manufacturer.
Step-by-Step Fuel Filter Installation
- Locate the Fuel Filter: Identify the location of the fuel filter, which is typically situated along the fuel line, near the fuel tank or engine.
- Disconnect the Fuel Line: Carefully disconnect the fuel line from the old fuel filter, taking care to prevent any fuel spills.
- Remove the Old Fuel Filter: Unscrew or detach the old fuel filter from its mounting, being mindful of any fuel residue that may be present.
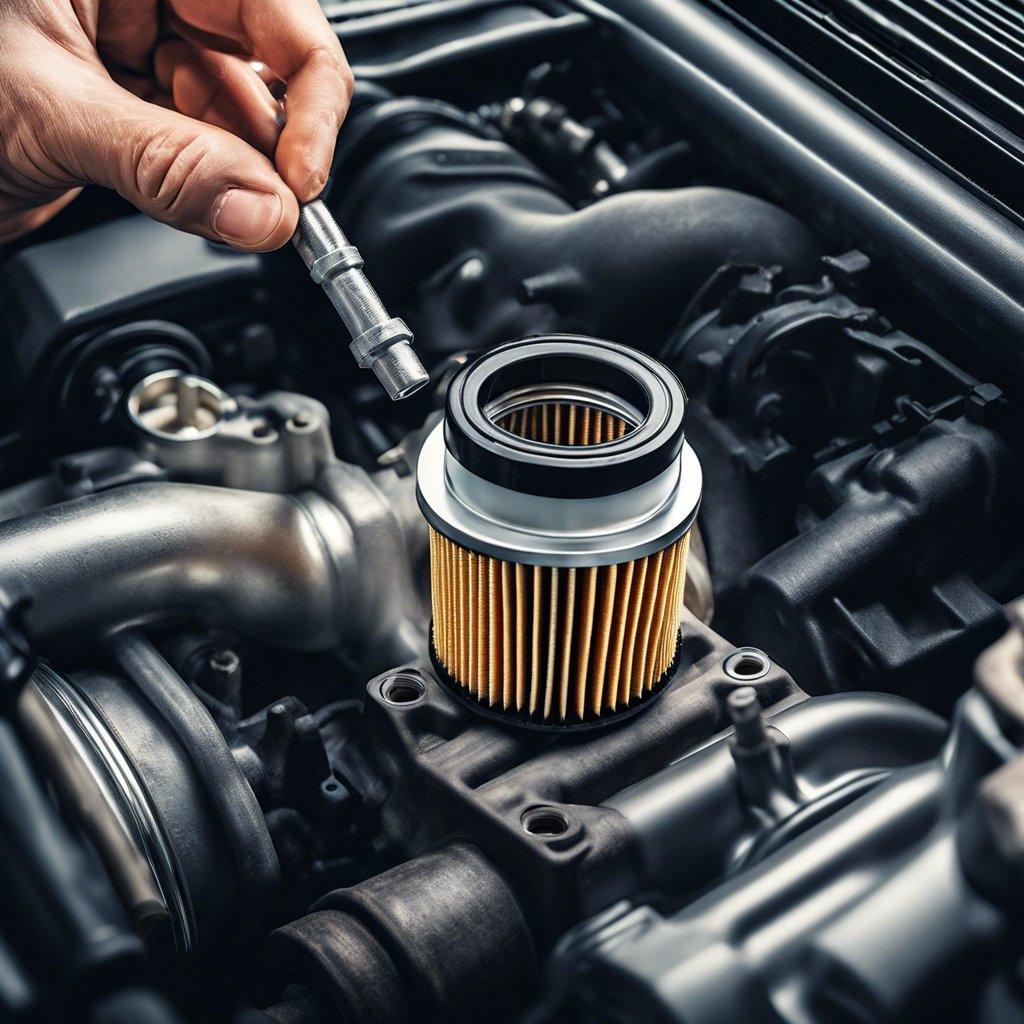
- Install the New Fuel Filter: Carefully align and connect the new fuel filter, ensuring a secure and leak-free fit.
- Reconnect the Fuel Line: Reattach the fuel line to the new filter, making sure the connection is tight and secure.
- Purge the Fuel System: Depending on the vehicle or equipment, you may need to purge the fuel system to remove any air pockets and ensure proper fuel flow.
Verifying Proper Installation
After completing the fuel filter installation, start the engine and inspect for any fuel leaks or changes in performance. If everything appears to be functioning correctly, your vehicle or equipment is now equipped with a fresh fuel filter, ready to deliver optimal performance.
| Fuel Filter Replacement Interval | Recommended Timeframe |
|---|---|
| Light-Duty Vehicles | Every 12,000-15,000 miles |
| Heavy-Duty Vehicles | Every 6,000-9,000 miles |
| Off-Road Equipment | Every 500-800 hours of operation |
Conquer Automotive Challenges: Mastering Fuel Filter Replacement
Ensuring a Smooth Ride: Fuel Filter Replacement
As an engineering or technology professional, you understand the importance of maintaining your vehicle’s performance and efficiency. One critical component that often goes overlooked is the fuel filter. Regularly replacing this essential component can significantly improve your vehicle’s fuel economy, engine performance, and overall reliability.
Identifying the Need for Fuel Filter Replacement
Over time, the fuel filter in your vehicle can become clogged with dirt, debris, and other contaminants, leading to a range of issues, such as:
- Reduced fuel flow, resulting in decreased engine power and performance
- Increased fuel consumption, impacting your vehicle’s fuel efficiency
- Potential engine damage from the buildup of impurities in the fuel system
To ensure optimal performance and longevity, it is recommended to replace your vehicle’s fuel filter at the intervals specified by the manufacturer or whenever you notice any of the above symptoms.
Step-by-Step Fuel Filter Replacement
Replacing your vehicle’s fuel filter is a straightforward task that can be accomplished with basic tools and a little know-how. Follow these steps to conquer this automotive challenge:
- Prepare the Work Area: Park your vehicle on a level surface and engage the parking brake. Ensure the work area is well-lit and free of clutter.
- Locate the Fuel Filter: Consult your vehicle’s owner’s manual or repair guide to identify the location of the fuel filter. It is typically located near the fuel tank or engine.
- Disconnect the Fuel Lines: Carefully disconnect the fuel lines from the filter, taking note of their position for reassembly.
- Remove the Old Filter: Unscrew or unbolt the old fuel filter and dispose of it properly.
- Install the New Fuel Filter: Carefully align the new filter and reconnect the fuel lines, ensuring a snug and secure fit.
- Bleed the Fuel System: Start the engine and allow it to run for a few minutes to bleed any air from the fuel system.
- Inspect for Leaks: Check the fuel filter and connections for any signs of leakage, and make any necessary adjustments.
By following these step-by-step instructions, you can confidently replace your vehicle’s fuel filter and enjoy the benefits of improved performance and fuel efficiency.
| Key Considerations | Tips and Reminders |
|---|---|
| Safety First | Wear protective gloves and work in a well-ventilated area to avoid fuel vapors. |
| Proper Disposal | Dispose of the old fuel filter and any other waste materials in accordance with local environmental regulations. |
| Maintenance Schedule | Refer to your vehicle’s owner’s manual for the recommended fuel filter replacement interval. |
By mastering fuel filter replacement, you can conquer one of the common automotive challenges faced by engineering and technology professionals. Stay ahead of the curve and keep your vehicle running at its best.
Elevate Your Ride: Effortless Fuel Filter Upgrade for Peak Performance
Unlock the Secrets to Optimal Fuel Efficiency
As an engineering or technology professional, you understand the importance of maintaining your vehicle’s peak performance. One crucial component in this pursuit is the fuel filter, a small but mighty component that plays a vital role in ensuring your engine runs smoothly and efficiently.
Embrace the Power of a Fresh Fuel Filter
Upgrading your fuel filter is a straightforward task that can have a profound impact on your vehicle’s performance. By replacing a worn-out or clogged filter, you can experience enhanced fuel economy, improved acceleration, and reduced emissions – all of which contribute to a more enjoyable driving experience.
Follow these easy-to-implement steps to upgrade your fuel filter and unlock the full potential of your ride:
- Locate the Fuel Filter: Consult your vehicle’s owner’s manual or service manual to identify the location of the fuel filter. It is typically situated along the fuel line, often near the fuel tank or engine.
- Prepare the Work Area: Ensure the work area is well-ventilated and free from any potential ignition sources. Wear appropriate safety gear, such as gloves and eye protection.
- Disconnect the Fuel Line: Carefully disconnect the fuel line from the filter, taking care to avoid any fuel spillage.
- Remove the Old Filter: Unscrew or detach the old fuel filter from its mounting location.
- Install the New Filter: Carefully align the new fuel filter and secure it in place, reconnecting the fuel line.
- Start the Engine: Turn on the ignition and start the engine, checking for any fuel leaks.
- Inspect and Test: Visually inspect the filter installation and perform a test drive to ensure optimal performance.
Elevate Your Ride with Confidence
By following these step-by-step instructions, you can confidently upgrade your fuel filter and experience the transformative benefits of peak engine performance. Embrace the power of a well-maintained vehicle and elevate your driving experience to new heights.
| Key Benefits | Fuel Filter Upgrade |
|---|---|
| Fuel Economy | Improved |
| Acceleration | Enhanced |
| Emissions | Reduced |
| Engine Performance | Optimized |
Post Comment