The Right Way to Install a New Fuel Filter in Your Vehicle
Mastering the Fuel Filter Replacement: A Seamless Journey

Understanding the Importance of Fuel Filter Replacement
As the lifeblood of your vehicle, the fuel system plays a crucial role in its performance and longevity. The fuel filter, a vital component within this system, is responsible for trapping contaminants and ensuring the delivery of clean fuel to the engine. Neglecting timely fuel filter replacement can lead to a host of issues, from reduced fuel efficiency to engine damage. Mastering the process of fuel filter replacement is essential for maintaining the optimal performance and reliability of your vehicle.
Preparing for the Fuel Filter Replacement
Before embarking on the replacement process, ensure you have the necessary tools and supplies on hand. This includes the appropriate replacement fuel filter, a drain pan to catch any spilled fuel, and protective gloves to safeguard your hands. Additionally, familiarize yourself with the specific location and accessibility of the fuel filter in your vehicle, as this can vary depending on the make and model.
Step-by-Step Guide to Fuel Filter Replacement
- Disconnect the Fuel System: Begin by safely disconnecting the fuel system, following the manufacturer’s instructions to ensure the fuel line is depressurized and no fuel is spilled.
- Remove the Old Fuel Filter: Locate the fuel filter and carefully remove it, taking note of its position and orientation to ensure the new filter is installed correctly.
- Install the New Fuel Filter: Carefully install the new fuel filter, ensuring it is securely in place and the fuel lines are properly reconnected.
- Bleed the Fuel System: Once the new filter is installed, it is essential to bleed the fuel system to remove any air pockets and ensure a smooth flow of fuel to the engine.
- Inspect for Leaks: Carefully inspect the fuel system for any signs of leaks, paying close attention to the areas around the new fuel filter and fuel lines.
Verifying Proper Fuel Filter Replacement
After completing the fuel filter replacement, start the engine and observe its performance. Listen for any unusual noises, check for any warning lights on the dashboard, and monitor fuel system pressure and consumption. If everything appears to be functioning correctly, you have successfully mastered the fuel filter replacement process, ensuring your vehicle continues to operate at its best.
Maintaining Optimal Fuel System Performance
Regular fuel filter replacement is just one aspect of maintaining the overall health of your vehicle’s fuel system. It is also crucial to adhere to the manufacturer’s recommended maintenance schedule, which may include additional tasks such as fuel system cleaning or fuel injector servicing. By prioritizing the care and maintenance of your vehicle’s fuel system, you can extend its lifespan, improve fuel efficiency, and enjoy a seamless driving experience.
Unleash the Power: Optimizing Your Vehicle’s Fuel Efficiency
As engineering and technology professionals, we understand the importance of maintaining our vehicles to ensure peak performance and fuel efficiency. One crucial component in this endeavor is the fuel filter, which plays a vital role in keeping your engine running smoothly and efficiently.
Importance of a Fuel Filter
The fuel filter is responsible for removing impurities and contaminants from the fuel before it reaches the engine. Over time, these filters can become clogged, leading to decreased fuel flow, reduced engine power, and even damage to critical engine components. Replacing the fuel filter at the recommended intervals is essential to maintaining your vehicle’s optimal performance and fuel economy.
The Right Way to Install a New Fuel Filter
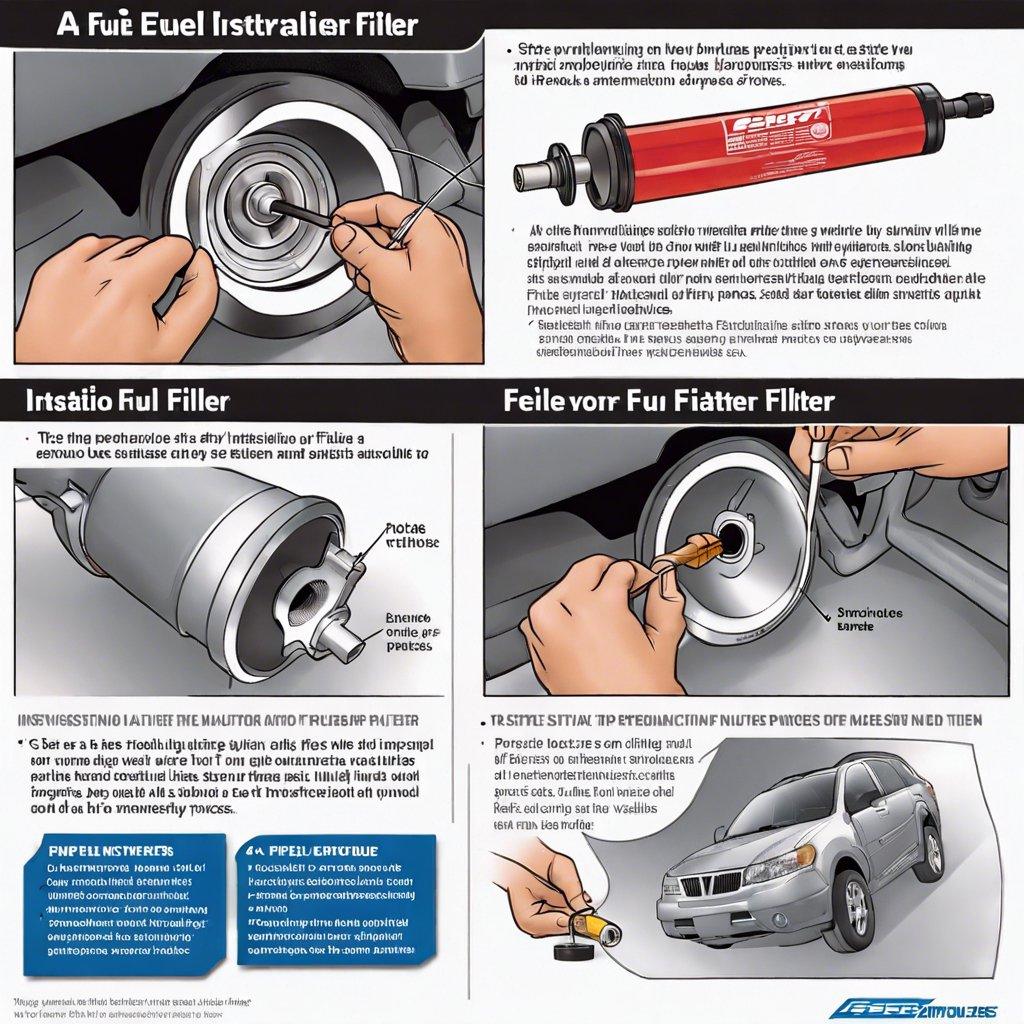
Replacing a fuel filter is a straightforward process, but it’s important to follow the proper steps to ensure a successful and safe installation. Here’s a step-by-step guide to help you get the job done right:
- Locate the Fuel Filter: Consult your vehicle’s owner’s manual or service manual to identify the location of the fuel filter. It is typically located near the fuel tank or along the fuel line.
- Relieve Fuel System Pressure: Before beginning, you’ll need to relieve the fuel system pressure to prevent fuel leaks. Consult your manual for the specific procedure, which may involve running the engine until it stalls or using a pressure relief tool.
- Disconnect the Fuel Lines: Carefully disconnect the fuel lines from the old filter, taking note of their positions to ensure proper reconnection.
- Remove the Old Filter: Unscrew or detach the old fuel filter from its mounting location.
- Install the New Filter: Carefully install the new fuel filter, ensuring that the flow direction arrow on the filter matches the direction of fuel flow in your vehicle.
- Reconnect the Fuel Lines: Reconnect the fuel lines to the new filter, making sure they are secure and leak-free.
- Start the Engine and Check for Leaks: Start the engine and inspect the fuel filter and connections for any leaks. If all is well, you’re ready to enjoy the benefits of a properly installed fuel filter.
By following these steps and maintaining your fuel filter at the recommended intervals, you can help optimize your vehicle’s fuel efficiency, extend its lifespan, and ensure peak performance. Remember, regular maintenance is the key to unlocking the full potential of your engineering and technology investments.
Safeguarding Your Ride: Proactive Fuel Filter Maintenance
As an engineering or technology professional, maintaining the optimal performance and longevity of your vehicle is paramount. One crucial aspect of this is the timely replacement of the fuel filter, a vital component that ensures the smooth and efficient flow of fuel to your engine. In this comprehensive guide, we will explore the right way to install a new fuel filter, empowering you to take control of your vehicle’s maintenance and safeguard your ride.
The fuel filter plays a crucial role in your vehicle’s fuel system, trapping impurities and contaminants that can otherwise cause significant damage to critical engine components. Over time, the filter becomes clogged, restricting fuel flow and reducing engine performance. Neglecting to replace the fuel filter can lead to increased fuel consumption, decreased power, and even engine failure – a scenario you’ll want to avoid at all costs.
Before you begin the installation process, ensure that you have the necessary tools and materials on hand, including:
- Replacement fuel filter: Consult your vehicle’s owner’s manual or a reputable parts supplier to identify the correct filter for your make and model.
- Fuel line clamps: These will help you isolate the fuel system during the replacement process.
- Rags or absorbent material: To contain any fuel spillage.
- Safety gear: Gloves and eye protection are recommended to protect yourself during the process.
Step-by-Step Fuel Filter Replacement
Follow these steps to ensure a successful fuel filter installation:
- Locate the fuel filter: Consult your vehicle’s service manual or online resources to identify the location of the fuel filter, which is typically situated along the fuel line.
- Isolate the fuel system: Use the fuel line clamps to pinch off the fuel supply before and after the filter, preventing fuel leakage during the replacement process.
- Remove the old filter: Carefully disconnect the fuel lines from the old filter and remove it from its mounting location.
- Install the new filter: Ensure that the flow direction of the new filter matches the direction of the fuel flow in your vehicle’s system. Reconnect the fuel lines and secure the filter in its mounting location.
- Bleed the fuel system: Start the engine and allow it to run for a few minutes to purge any air from the fuel system. Check for any leaks and address them promptly.
- Dispose of the old filter: Properly dispose of the used fuel filter in accordance with local environmental regulations.
Maintaining Fuel System Health
Replacing the fuel filter is just one aspect of maintaining the health of your vehicle’s fuel system. Regular inspections, monitoring fuel consumption, and addressing any issues promptly are essential to ensuring the longevity and optimal performance of your ride.
| Fuel System Component | Recommended Maintenance Interval |
|---|---|
| Fuel Filter | Every 30,000 to 50,000 miles or as recommended by the manufacturer |
| Fuel Pump | Every 60,000 to 100,000 miles or as recommended by the manufacturer |
| Fuel Lines and Connections | Inspect annually for any signs of wear or damage |
By following these best practices and staying proactive with your fuel system maintenance, you can safeguard your vehicle’s performance, extend its lifespan, and ensure a smooth, reliable ride for years to come.
Fuel Filter Replacement: The Keystone of Automotive Performance
Importance of Fuel Filters
The fuel filter is a critical component in any vehicle, responsible for removing impurities and contaminants from the fuel before it reaches the engine. A properly functioning fuel filter is essential for maintaining optimal engine performance, fuel efficiency, and overall vehicle longevity.
Signs of a Failing Fuel Filter
Recognizing the signs of a failing fuel filter is crucial for proactive maintenance. Some common indicators include:
- Decreased Fuel Efficiency: A clogged fuel filter restricts fuel flow, leading to reduced engine power and decreased fuel economy.
- Difficulty Starting the Vehicle: A blocked filter can prevent sufficient fuel from reaching the engine, making it harder to start the vehicle.
- Rough Idling or Stalling: Impurities in the fuel system can cause the engine to run rough or stall, especially at idle.
Fuel Filter Replacement Procedure
Replacing a fuel filter is a straightforward task that can be performed by most vehicle owners with basic mechanical skills. Here’s a step-by-step guide:
| Step | Description |
|---|---|
| 1. Locate the Fuel Filter | The fuel filter is typically located in the fuel line, either near the fuel tank or the engine. |
| 2. Relieve Fuel System Pressure | Disconnect the negative battery cable to depressurize the fuel system and reduce the risk of fuel leaks. |
| 3. Remove the Old Fuel Filter | Disconnect the fuel lines from the filter and remove the filter from its mounting location. |
| 4. Install the New Fuel Filter | Ensure the new filter is compatible with your vehicle and install it in the reverse order of removal. |
| 5. Reconnect the Battery | Reconnect the negative battery cable and start the engine to check for any leaks. |
Maintaining Optimal Performance
Replacing your vehicle’s fuel filter at the recommended intervals is crucial for maintaining optimal engine performance, fuel efficiency, and overall vehicle health. Consult your owner’s manual or a trusted automotive professional for the appropriate replacement schedule.


Post Comment